Welcome to our blog’s tips section, where we share insider secrets and culinary hacks to take your cooking skills to the next level. In today’s edition, we’re exploring a fun and unexpected use for your cocktail shaker: making homemade whipped cream. Join us as we uncover the step-by-step process and offer creative ideas for incorporating this luscious topping into your favorite desserts and beverages.
The Magic of Whipped Cream in a Cocktail Shaker
Whipped cream is a versatile and decadent addition to countless desserts and beverages, from classic sundaes and pies to indulgent hot cocoa and cocktails. While traditional methods for whipping cream involve a hand mixer or stand mixer, using a cocktail shaker offers a convenient and surprisingly effective alternative. With just a few simple ingredients and a bit of elbow grease, you can whip up a batch of fluffy, billowy whipped cream in no time.
Ingredients You’ll Need
To make whipped cream in a cocktail shaker, you’ll need just two basic ingredients:
- Heavy cream: Opt for high-quality heavy cream with a fat content of at least 36%. The higher the fat content, the richer and creamier your whipped cream will be;
- Sweetener (optional): While traditional whipped cream is sweetened with powdered sugar or granulated sugar, you can customize the sweetness level to your taste or omit the sweetener altogether for a more versatile topping.
Step-by-Step Guide: Making Whipped Cream in a Cocktail Shaker
- Chill Your Ingredients: Before getting started, it’s important to chill both the heavy cream and the cocktail shaker. Cold ingredients and equipment will help the cream whip up faster and hold its shape better;
- Pour the Heavy Cream: Measure out the desired amount of heavy cream and pour it into the chilled cocktail shaker. If using sweetener, add it to the cream at this stage;
- Shake, Shake, Shake: Secure the lid tightly on the cocktail shaker and begin shaking vigorously. Hold the shaker with both hands and shake it in an up-and-down motion for about 1-2 minutes, or until the cream thickens and forms soft peaks;
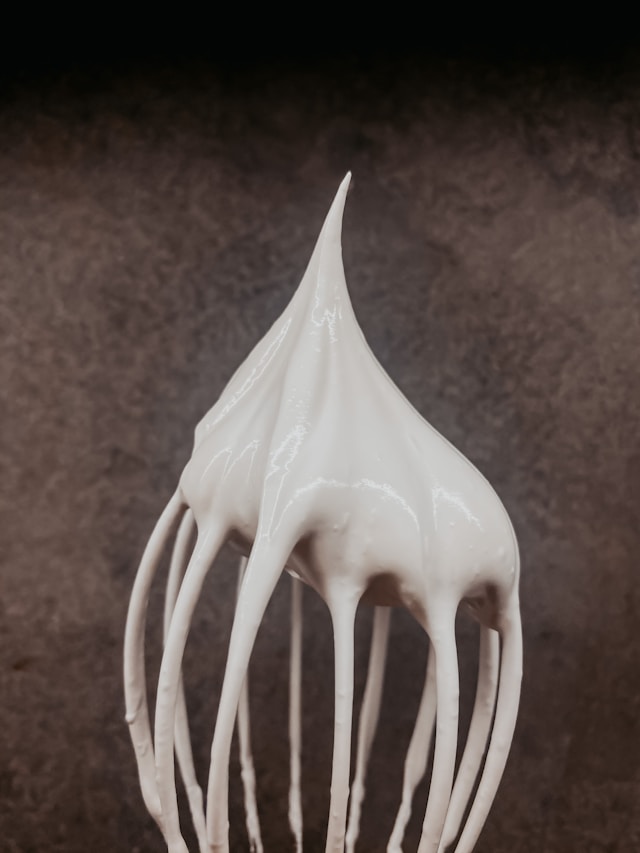
- Check for Consistency: After a minute or so of shaking, carefully remove the lid and check the consistency of the whipped cream. It should be thick and creamy, with soft peaks that hold their shape when the whisk is lifted;
- Adjust Sweetness (if necessary): Taste the whipped cream and adjust the sweetness level if needed. Add more sweetener if desired, then gently shake the cocktail shaker a few more times to incorporate;
- Serve and Enjoy: Once the whipped cream reaches the desired consistency, it’s ready to serve! Use a spoon to dollop it onto your favorite desserts or beverages, or transfer it to a piping bag for more intricate decorations.
Creative Ways to Use Whipped Cream
Now that you’ve mastered the art of making whipped cream in a cocktail shaker, it’s time to get creative with how you use this versatile topping. Here are a few ideas to inspire you:
- Dessert Toppings: Top off slices of pie, cake, or fruit crisps with a generous dollop of whipped cream for an extra touch of indulgence;
- Hot Beverages: Upgrade your favorite hot cocoa, coffee, or tea with a swirl of whipped cream on top, along with a sprinkle of cocoa powder or cinnamon;
- Cocktail Creations: Add a luxurious finishing touch to cocktails like Irish coffee, spiked hot chocolate, or creamy dessert martinis with a float of whipped cream.
Conclusion: Elevate Your Culinary Creations with Homemade Whipped Cream
Making whipped cream in a cocktail shaker is a simple yet surprisingly effective technique that allows you to enjoy fluffy, decadent whipped cream anytime, anywhere. With just a few basic ingredients and a bit of shaking, you can elevate your desserts, beverages, and cocktails to new heights of deliciousness. So why not give it a try and experience the magic of homemade whipped cream in your own kitchen? Cheers to indulgence!

